
But I set to work brain storming and trying to figure out how the heck I was going to do this. I figured I could use tiny needles to make the stitches tighter....but that would take forever. I had read about thrumming on the Yarn Harlot's blog and I thought that might be a good idea to try. In fact, the plan was to make a pair of thrummed mittens but I couldn't find wool roving anywhere so I kept storming. Then I thought prehaps felted mittens might be more windproof since the yarn would kind of mush together an eliminate the holes....but I still wanted cuffs. So after some research I devised a plan...
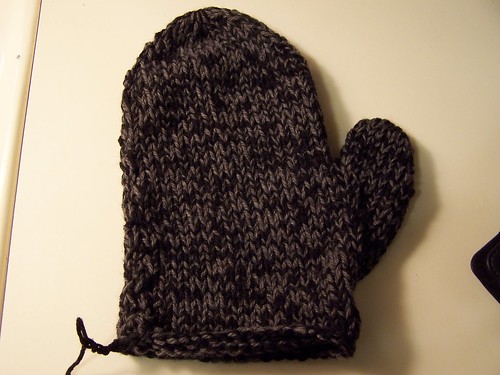
I started with the basic 2 needle mitten pattern I had used to base Joe's original mittens on (I modified it...so mine looked way cooler than the pattern picture). Now, I'm sure if I wanted to be scientific or smart about it, I would have made a swatch and then felted it and calculated starting gauge from that.....but I didn't. I figured if the mittens were too big that I would just keep felting them until they shrank enough. So without testing gauge, I used size 11 needles and 2 strands of Patons Classic Merino Wool (one strand of grey and one of black) and I knit the upper portion of the mitten following the largest size on the pattern (plus some extra inches of length) and then used cotton yarn to do a single crochet border around the bottom. This is what I got...
 So then to felting.... Since we don't own our own washer and dryer I decided I wanted to try and do the felting on the stove, alternating the mittens in hot water and running them under cold water. Doing this successfully got the stitches to "mush" together but there was not much shrinkage going on. So after spending almost an hour messing with it, I decided to suck it up and pay the $2.25 to run it through the washer and dryer.
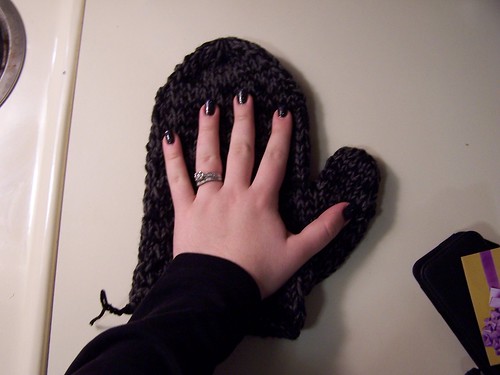
This got it to shrink nicely but the thumb was looking a little wonky so I had to cut it and sew it back together and then re-felt the thumb (to hid the new stitches) under the sink. The good news, though is that when Joe came home from work, he said it fit well. So once it dried, I attached the cuff using one strand of black yarn and size 7 dpns to do a K1 P1 rib pattern with a grey stripe in the middle.
This is the "before and after" shot:
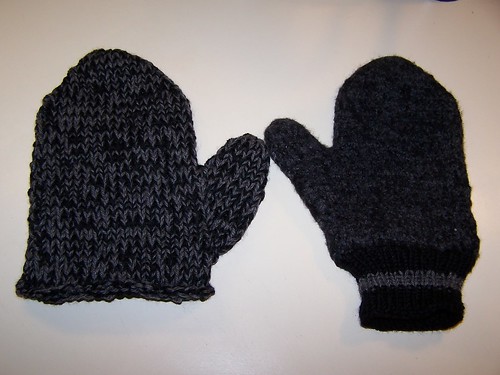
So after making the second mitten, it was time for the moment of truth....Joe using them to ride his bike 1 mile in 30 degree weather. The conclusion....they work! Joe says the mittens are like tosters and they are msotly windproof for his bike ride.
Now, the pattern still needs some tweaking so I'm not going to post it today, but I think I might make a pair for me with a fun intarsia design and if those turn out well, I'll post the pattern later.


Well done. Those are cute (and warm).
ReplyDelete