


Knitting Books

Domiknitrix

Naughty Needles

Stitch 'N Bitch Nation

Stitch 'N Bitch: the knitter's handbook
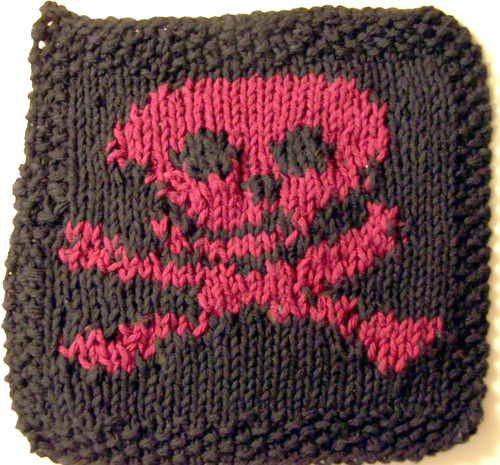
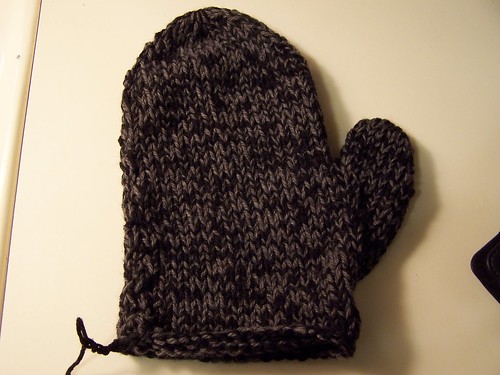
Knitting Stuff
Retractable tape measure
An adjustable dress form
A row counter (preferably one I can put on a string with some amount of ease)
Fun stitch markers (Zephyr Style has cool ones....or I'm sure a crafty person could make some)
9 balls of Patons Classic Merino Wool in a pretty color
OR
10 balls of Lion Brand Wool Ease (the worsted kind) in a pretty color
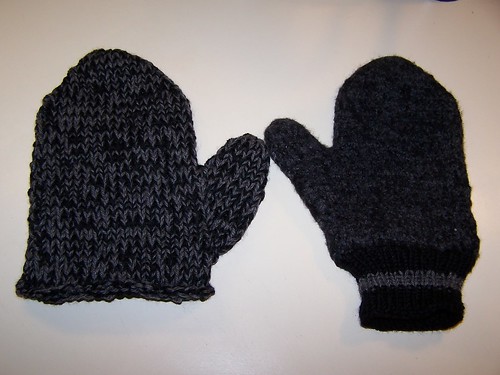
so that I can make this
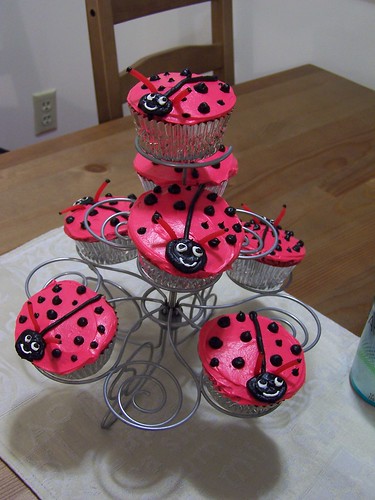
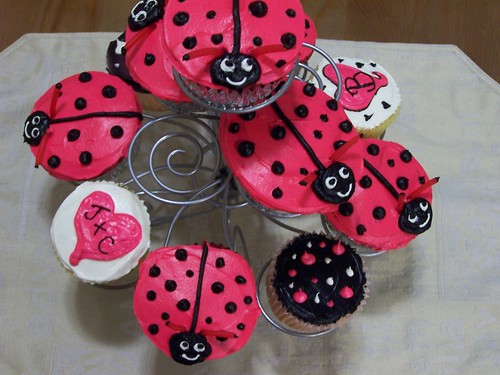
Cupcake and Baking Stuff

Crazy About Cupcakes
Pampered Chef Decorator Bottle Set
Pampered Chef mini muffin/cupcake pan
Pampered Chef small spreader
Other fun cupcake supplies (decorations, cupcake liners, cake decorating kits)
Other Fun things I'd dig
Funky cool or stylin' clothes
Funky cool or stylin' accesories
Superchic[k]'s new CD: Beauty From Pain 1.1
Republic of Tea Traveler's Tins
Republic of Tea Mango Ceylon Tea
Republic of Tea Pomegranate Green Tea
A ceramic tea pot (preferably of at least 22 oz. capacity...Republic of Tea has some cool ones)
(Heck I just like Republic of Tea)
So thanks for checking out my list. I know in some cultures making a similar list is considered rude. Please know that I have had at least 3 requests recently for this list so I figured this is the best way to share the info. If you are offended, here's a picture of a cute baby to cheer you up:


